created at 2025-09-21 09:15,updated at 2026-04-29 08:14
白嫖cloudflare无限企业邮箱
🎉收邮件(简易模式)
- 进入cloudflare,选择一个域名
- 启用 Email Routing,自动生成5条DNS记录(3个MX,2个TXT),添加结果可以在DNS面板里看到
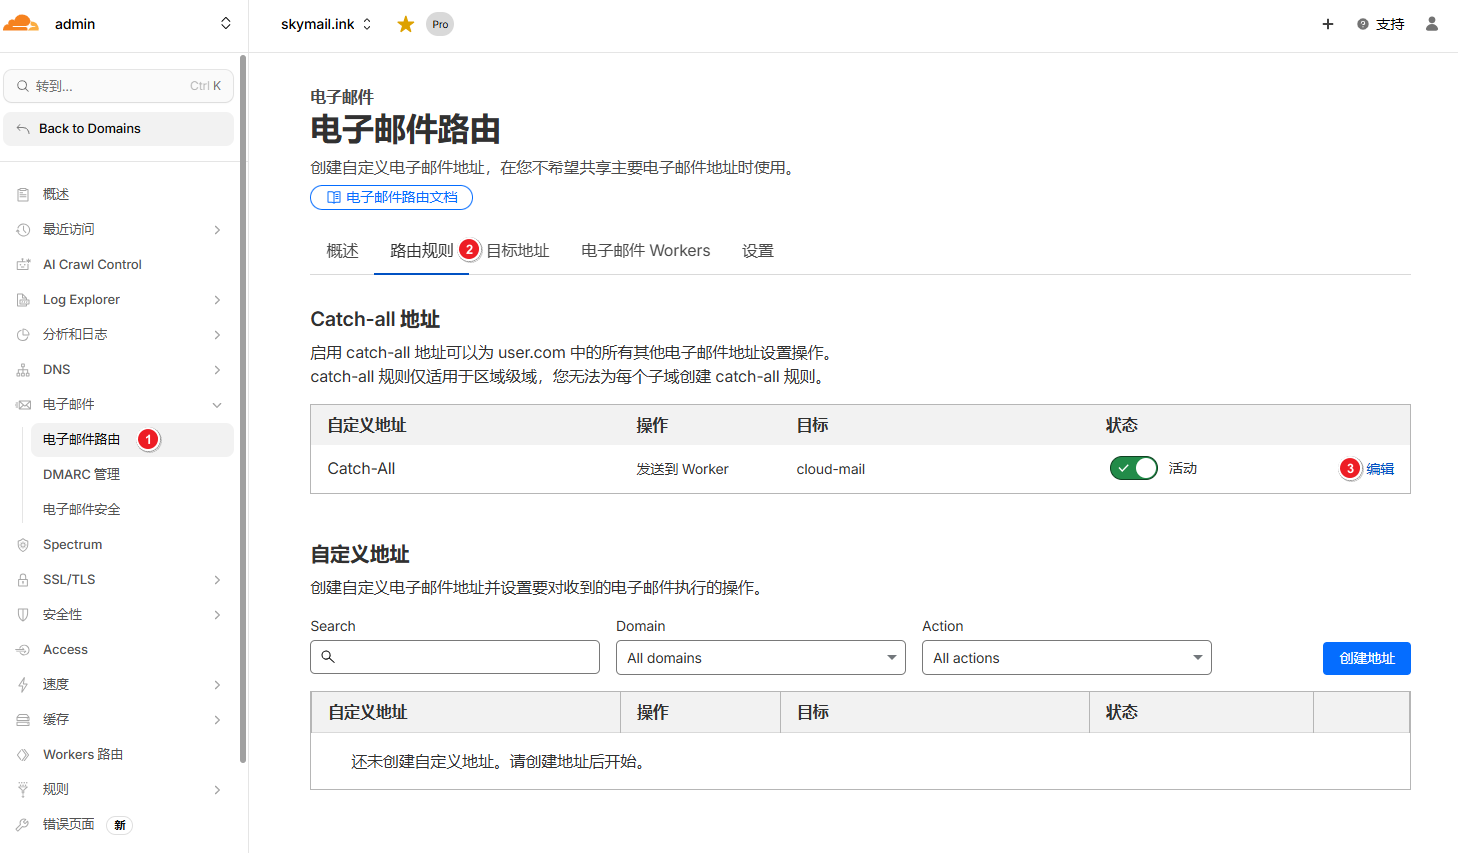
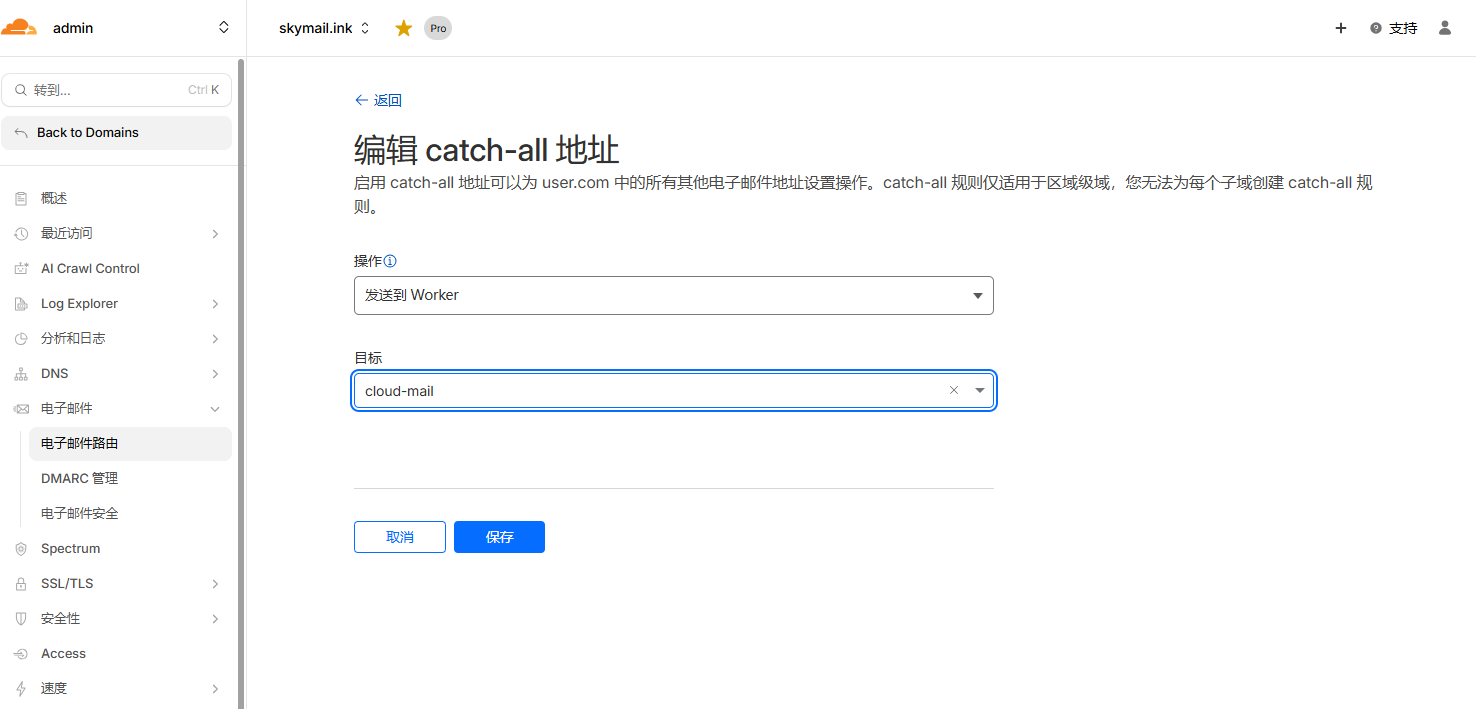
- 设置 Email Routing 规则,编辑Catch-All绑定一个転送邮箱,通过邮箱验证后,転送状态变为可用

Tip
1.发送至:任意字符@xxx.com 的邮件,都会転送到Catch-All 绑定邮箱
2.Email Routing邮件设置的概要栏里,可以查看所有收到的邮件
🎉收邮件(高级模式,通过worker存储在D1 KV里)
部署手册:https://doc.skymail.ink/guide/dashboard.html
创建worker
-
克隆GitHub仓库
-
进入cloudflare, 创建worker
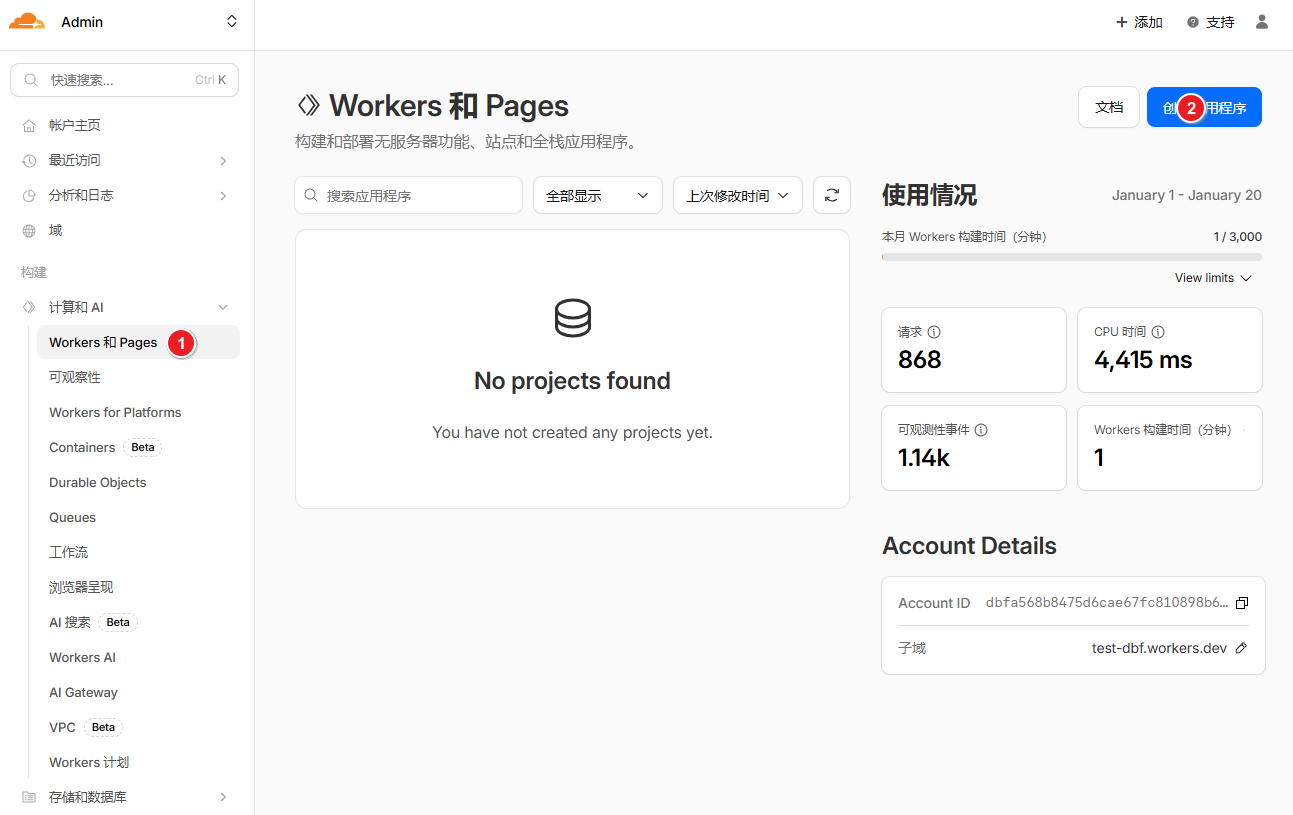
-
选择从GitHub导入

-
部署
设置目录/mail-worker,其余都默认设置

-
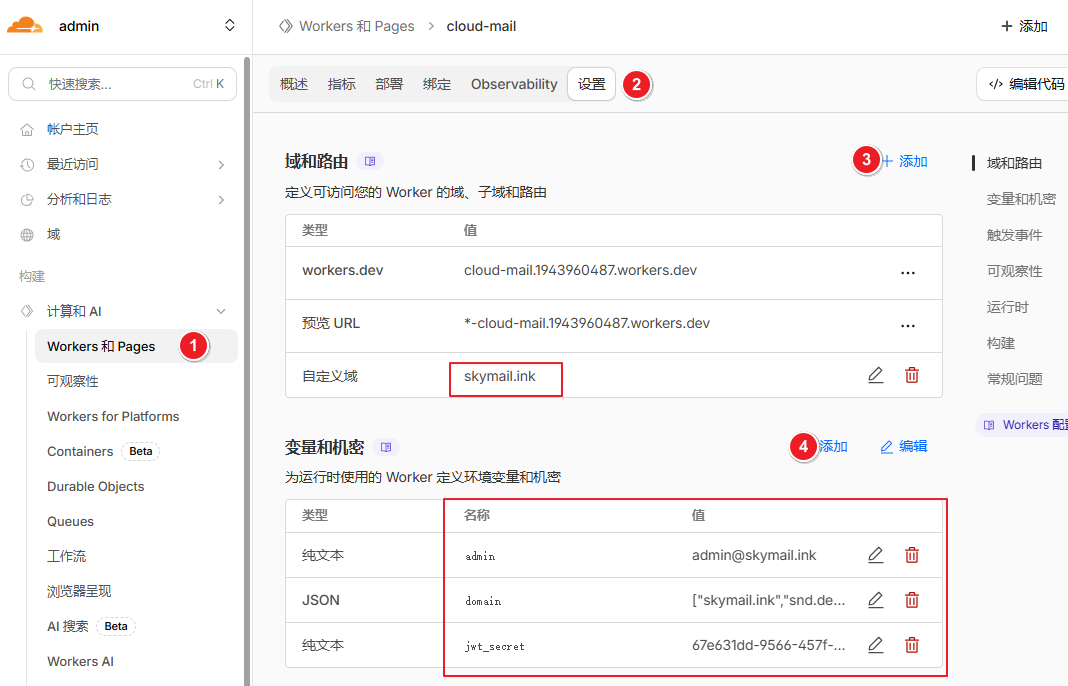
worker设置自定义域,添加环境变量
| 变量名 | 必需 | 用途 |
|---|---|---|
| domain | ✅ | 邮箱域名,多域名用(例如 ["example.com","example2.com"]) |
| admin | ✅ | 管理员邮箱地址(例如 [email protected]) |
| jwt_secret | ✅ | JWT密钥 随便输入一串字符串,不要输入特殊字符 |
| project_link | ❌ | 隐藏登录界面项目链接 (true显示 false隐藏) |
Email Routing设置转发
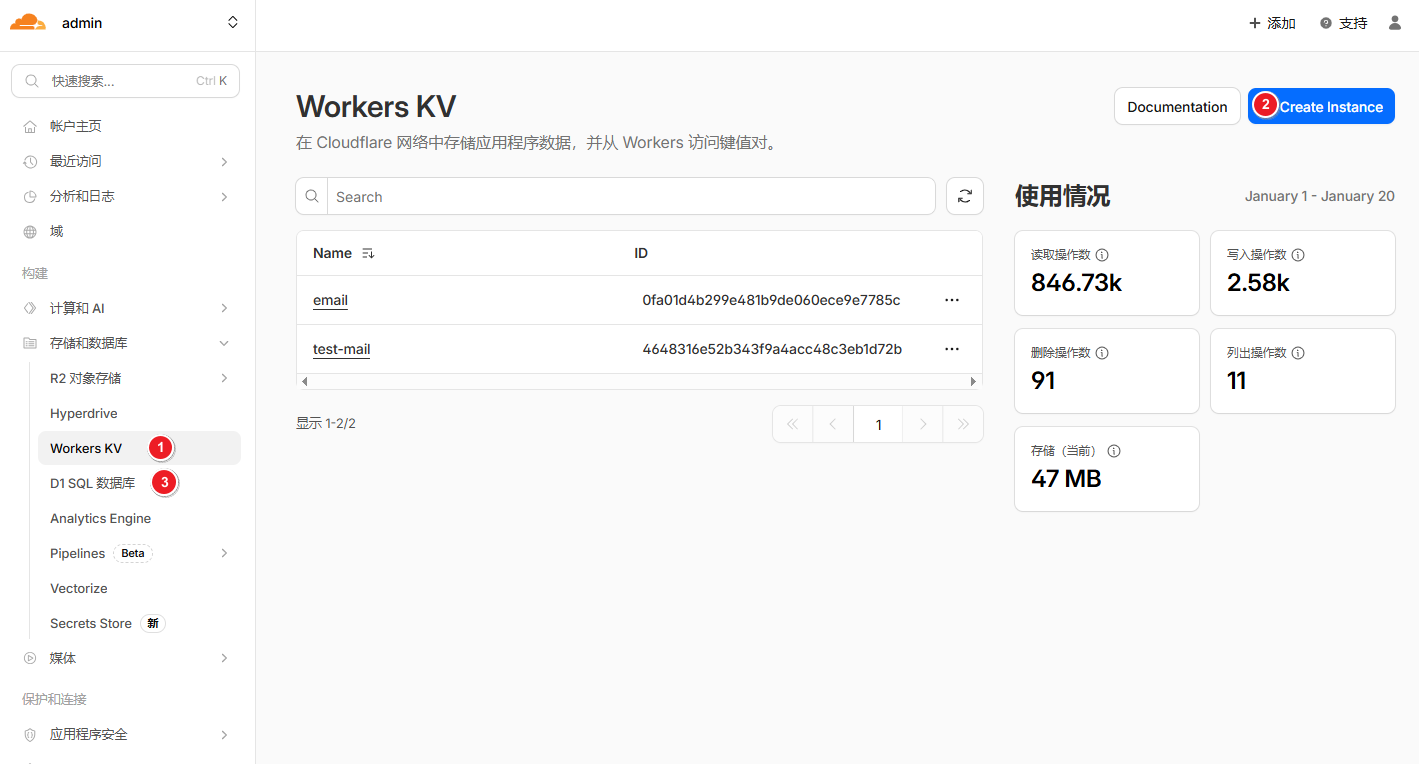
KV和D1
-
创建KV和D1数据库
-
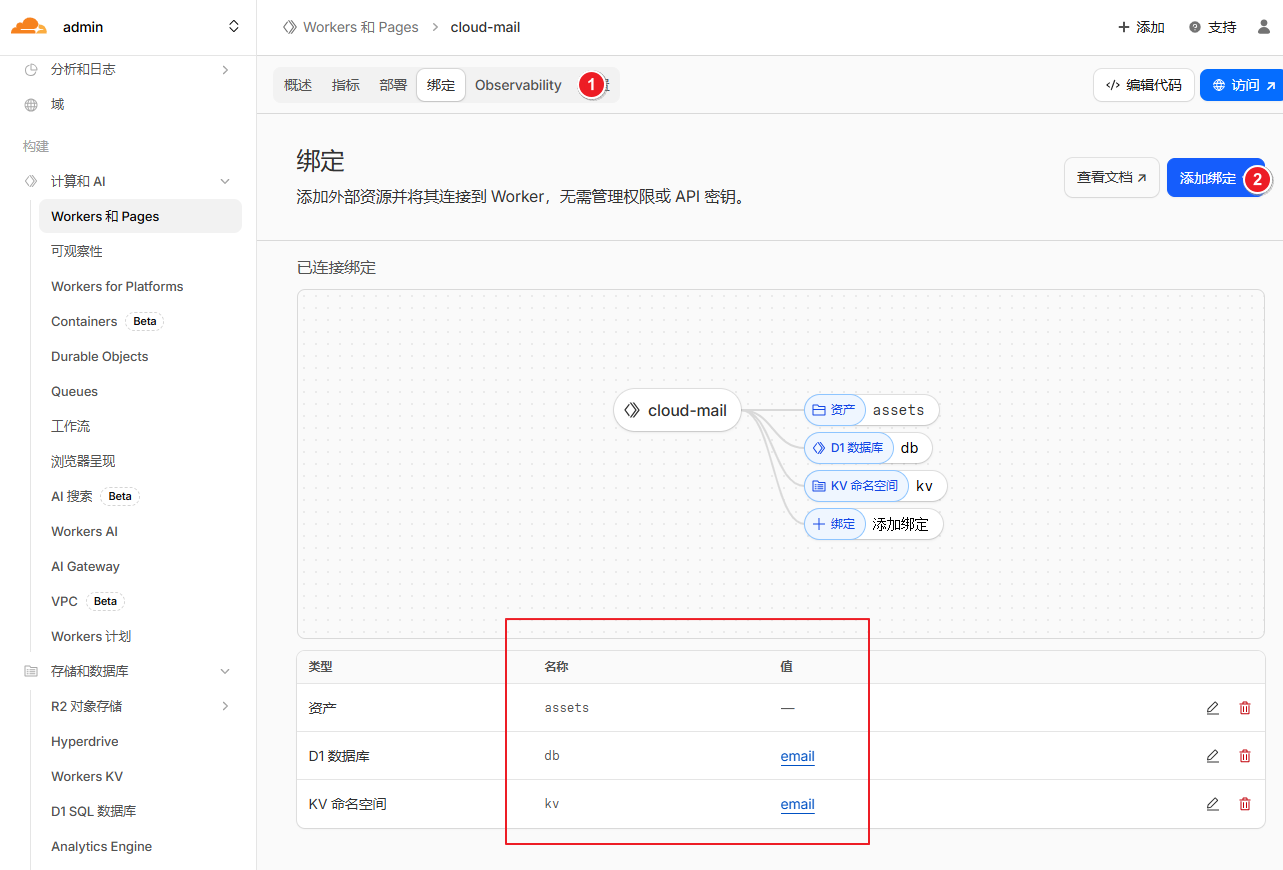
添加绑定,变量名必须为kv和db
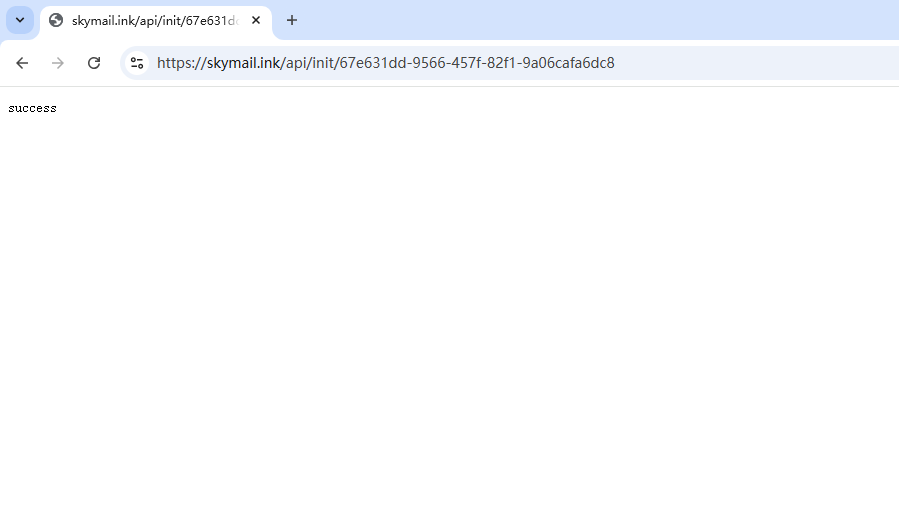
初始化数据库
浏览器输入 https://worker自定义域/api/init/你的jwt_secret
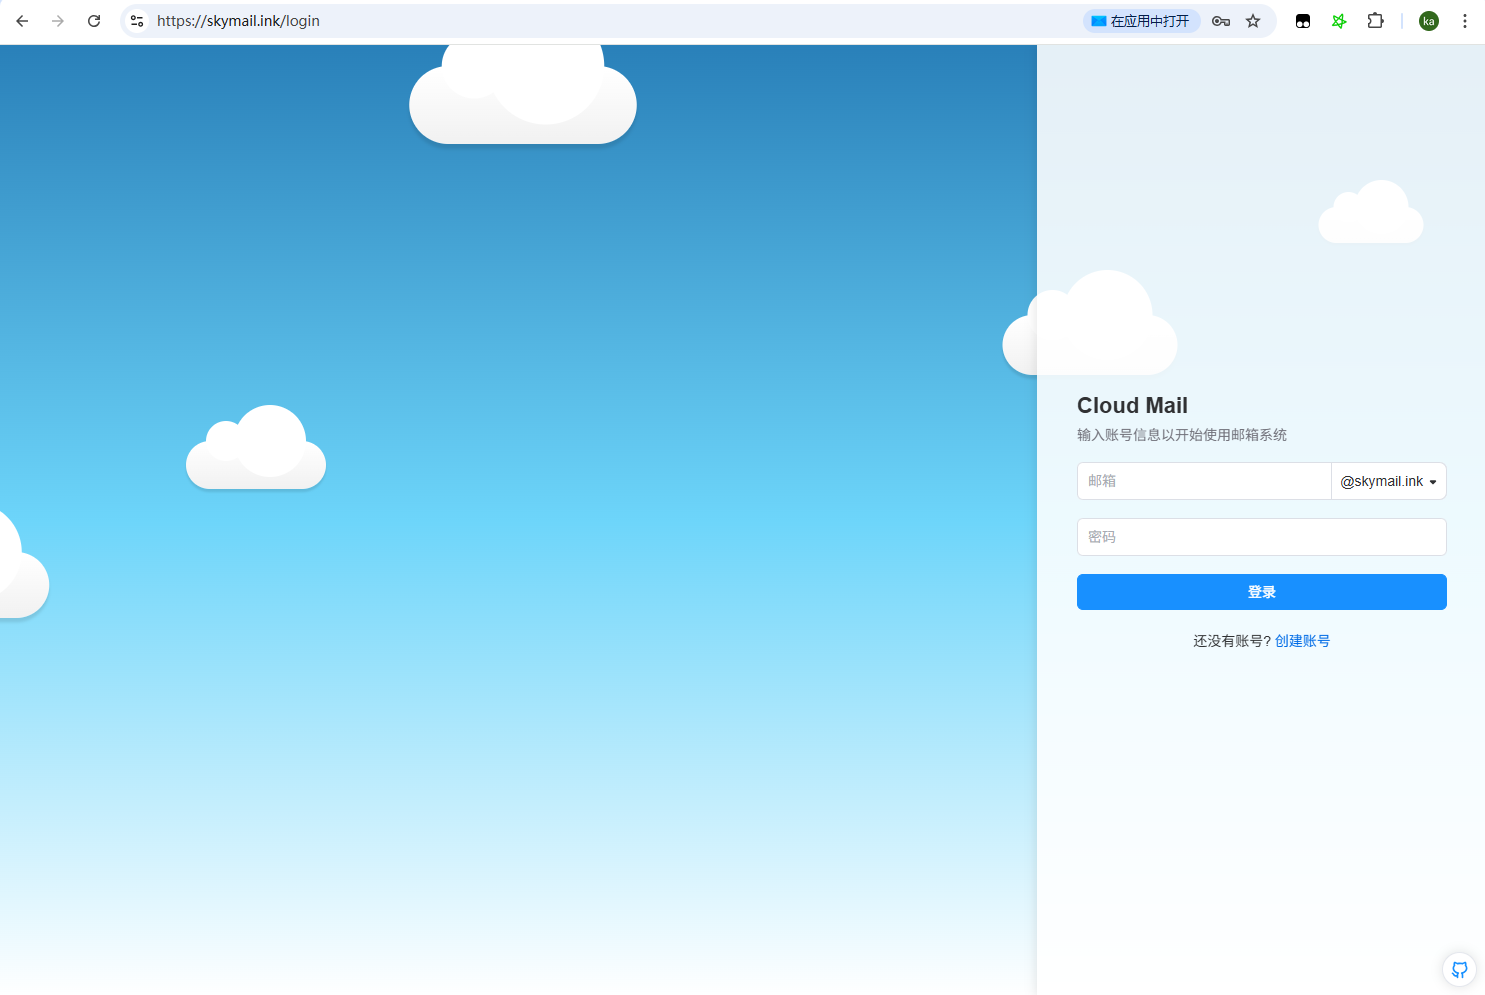
登录网站
浏览器输入自定义域名,注册管理员账号,登录网站
🎉发邮件
Important
Cloudflare 目前不支持发件,封禁25端口,只能使用第三方服务
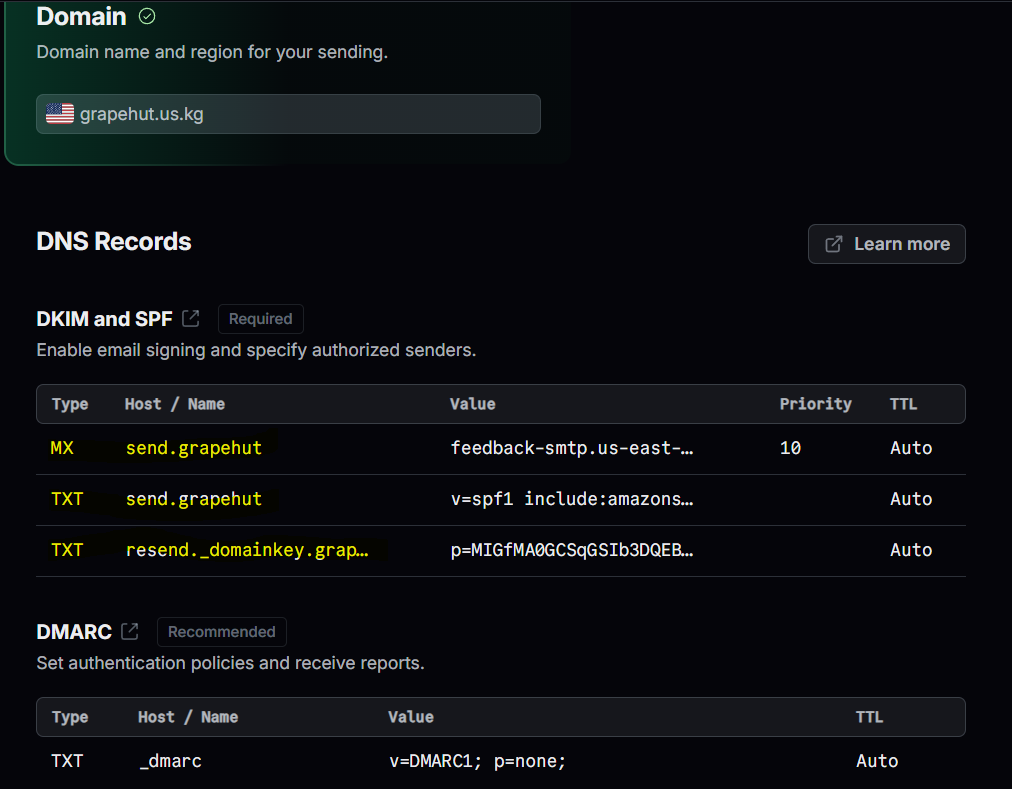
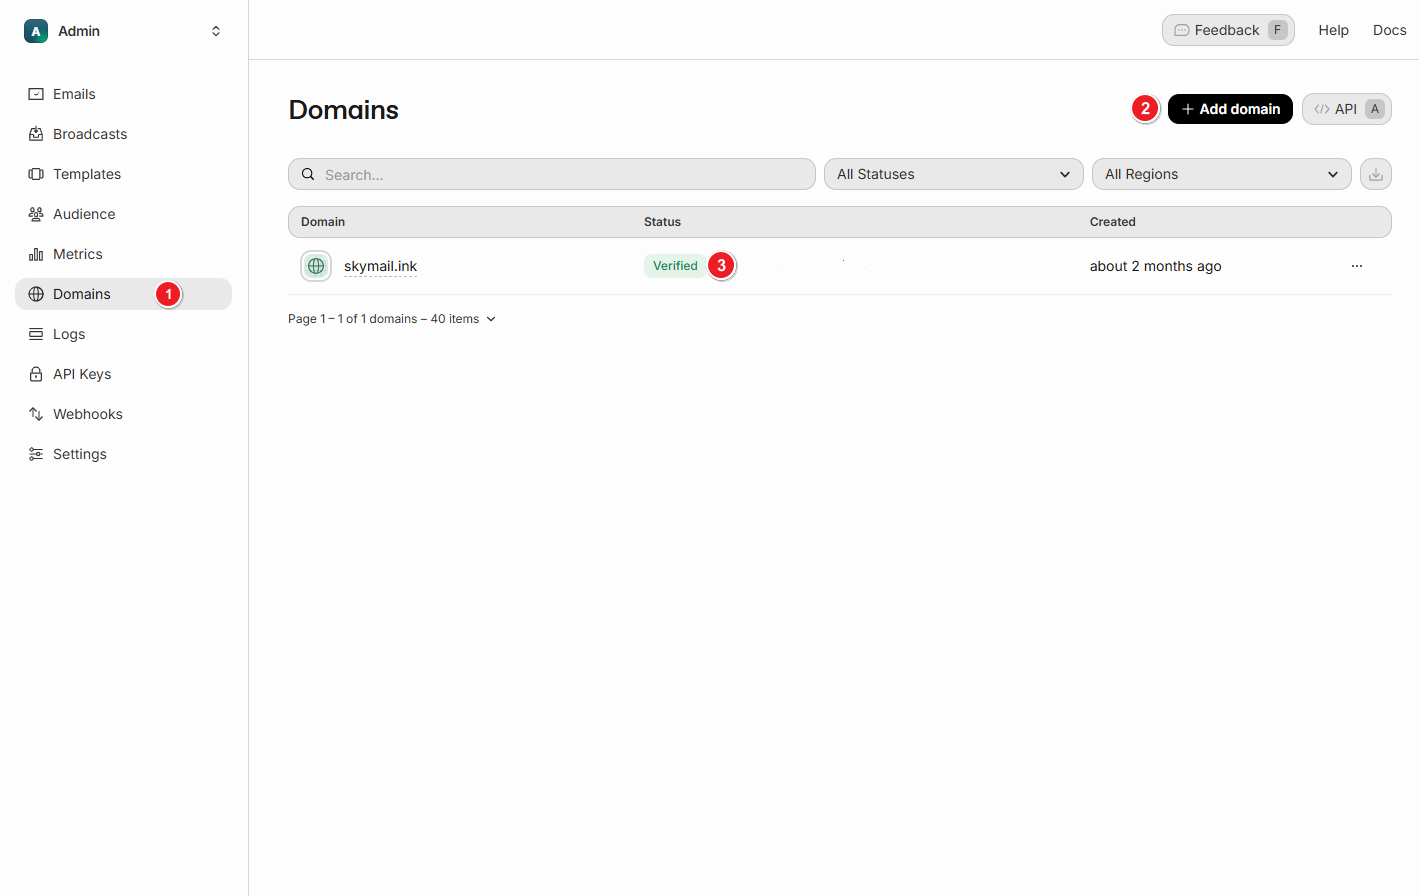
设置resend
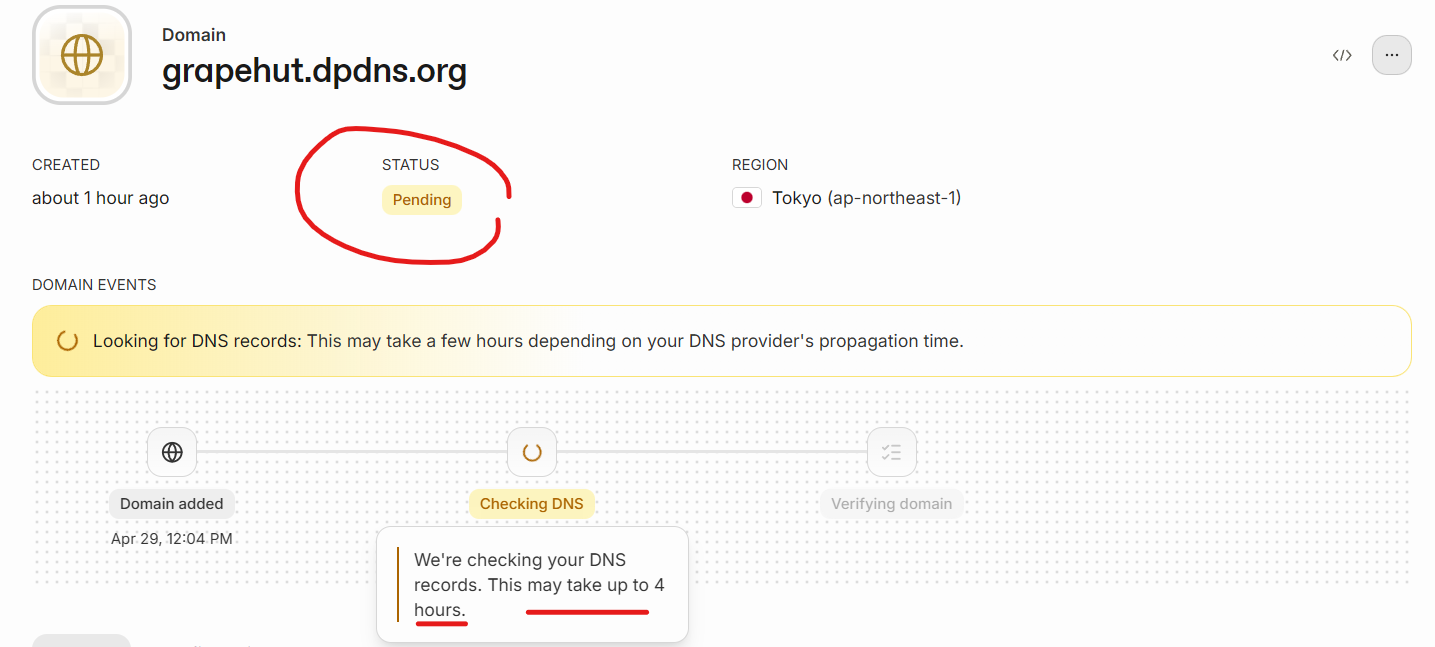
注册resend.com,并添加域名,完成DNS验证
https://resend.com/domains
-
Add Domain,自动生成4条DNS(1条MX,3条TXT)
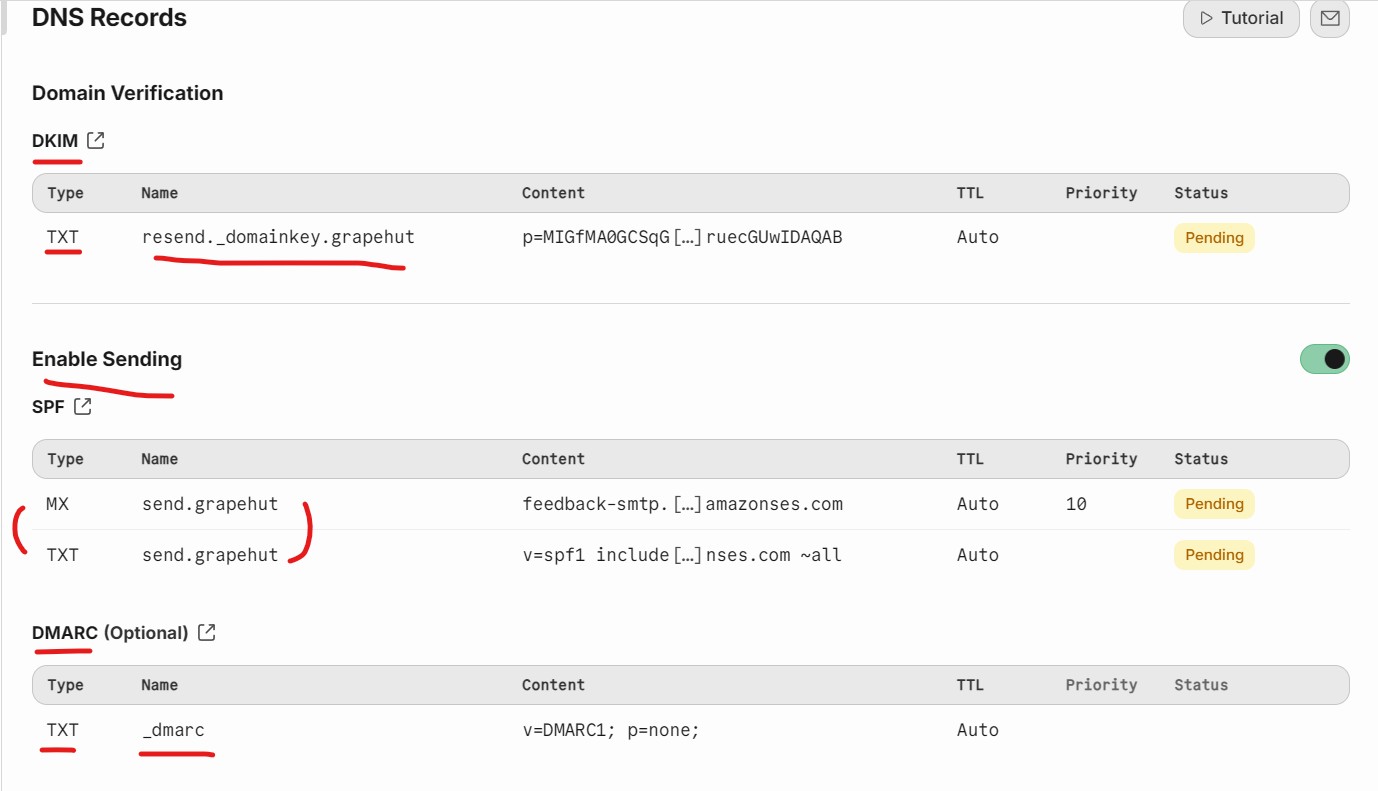
-
添加回 cloudflare
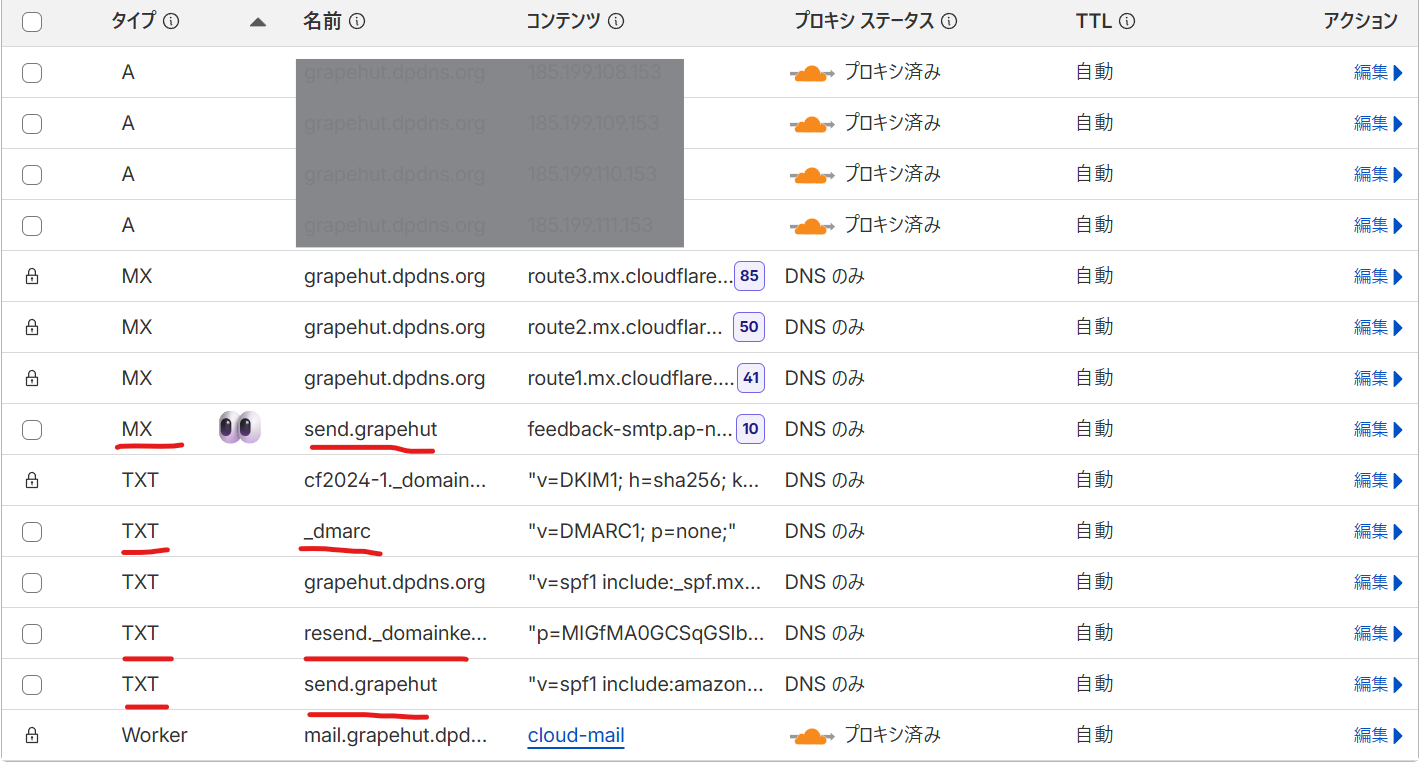
-
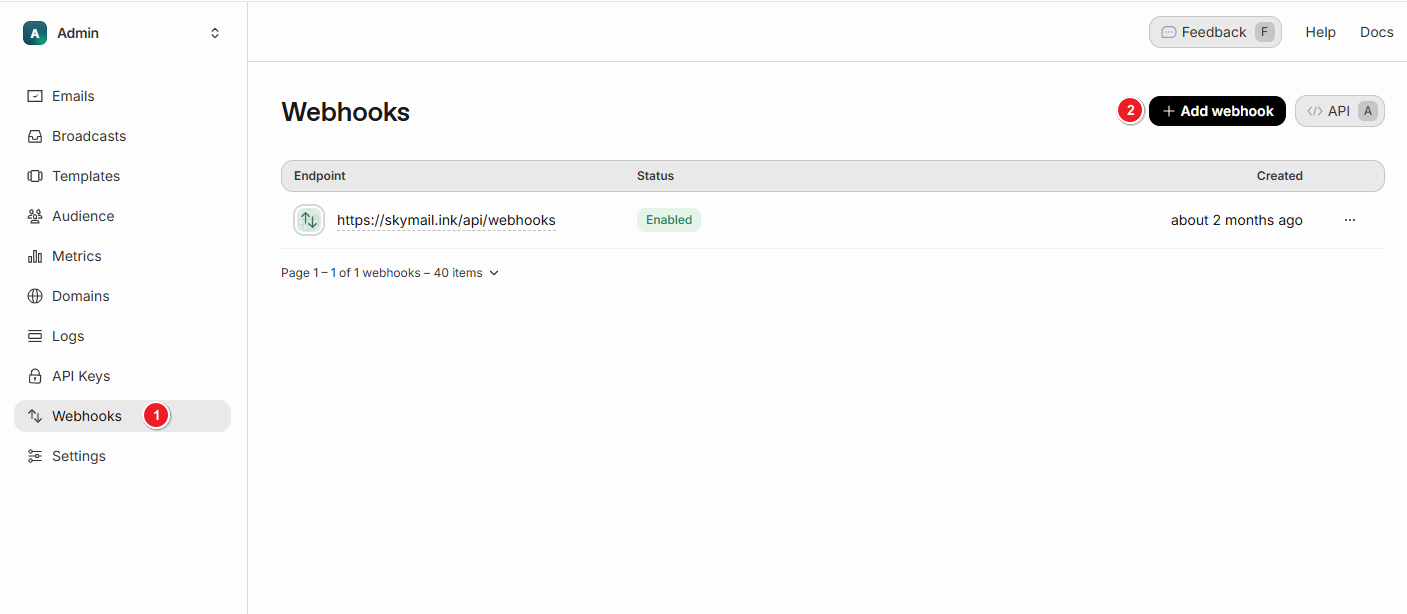
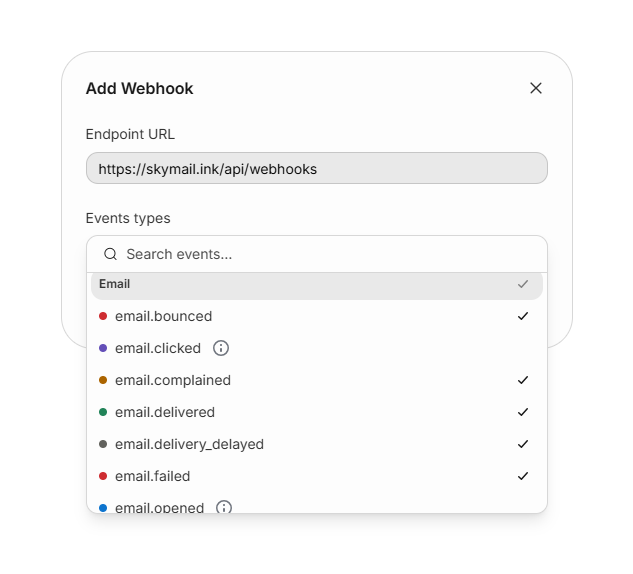
设置webhooks
https://worker自定义域/api/webhooks
绑定resend.comAPI
-
创建 API Key
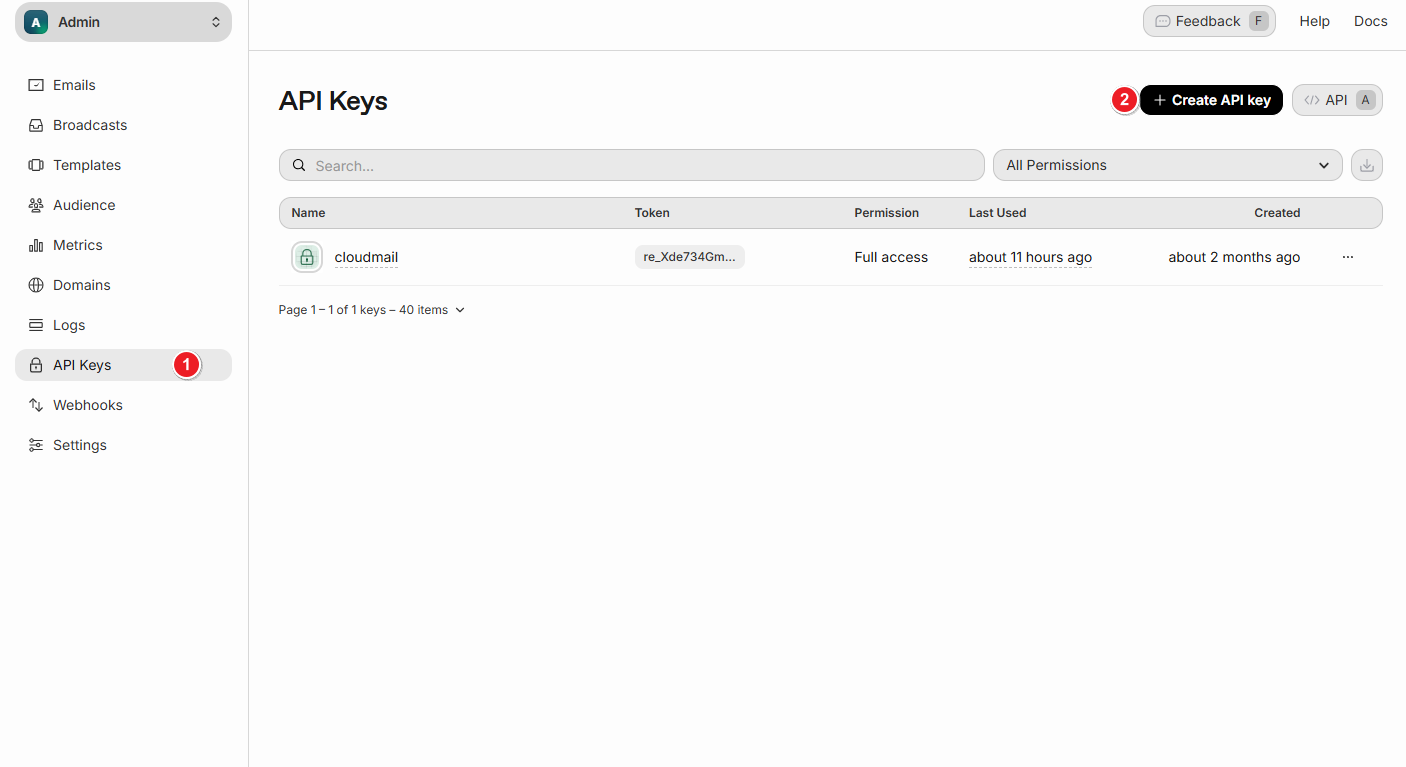
-
绑定API

测试
https://resend.com/docs/send-with-nodejs
import { Resend } from 'resend';

const resend = new Resend('re_xxxxxxx');

(async function () {
  const { data, error } = await resend.emails.send({
    from: 'Acme <任意@xxx.com>',
    to: ['目标邮箱@outlook.com'],
    subject: 'Hello World',
    html: '<strong>It works!</strong>',
  });

  if (error) {
    return console.error({ error });
  }

  console.log({ data });
})();